Zomba Wheels in Shader Graph
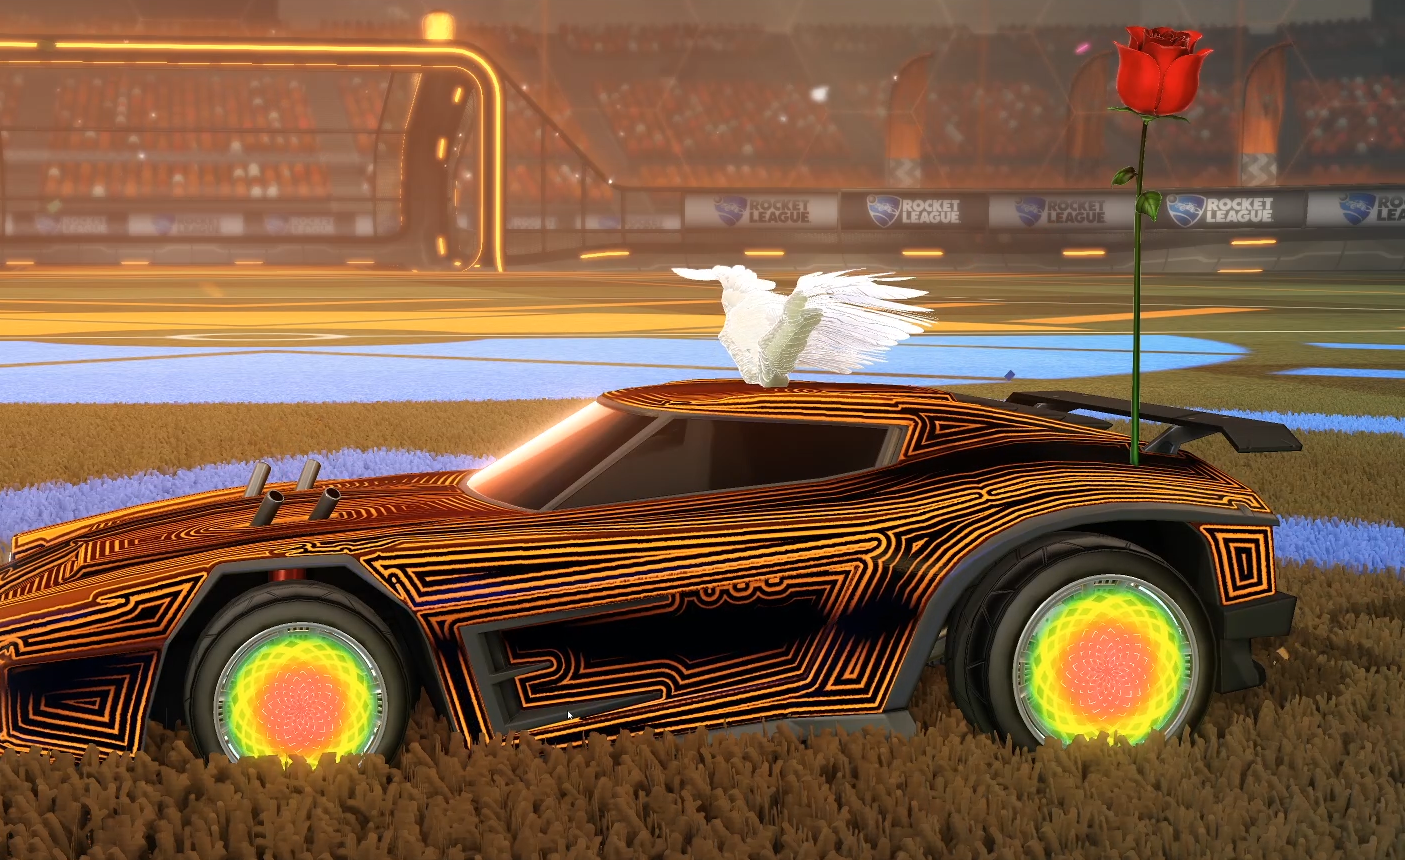
The Zomba wheels.
Witness one of the most iconic wheels from Rocket League. They instantly became a classic and the “white” variant is still among the most expensive items you can buy in the game.
They were originally made in Unreal Engine 4, but I wanted to see how close I could get inside of Unity. Fortunately, a shader is a shader, and is very similar in Unreal and Unity, so anything I’m doing here could theoretically be done in Unreal too.
Here is the final result!
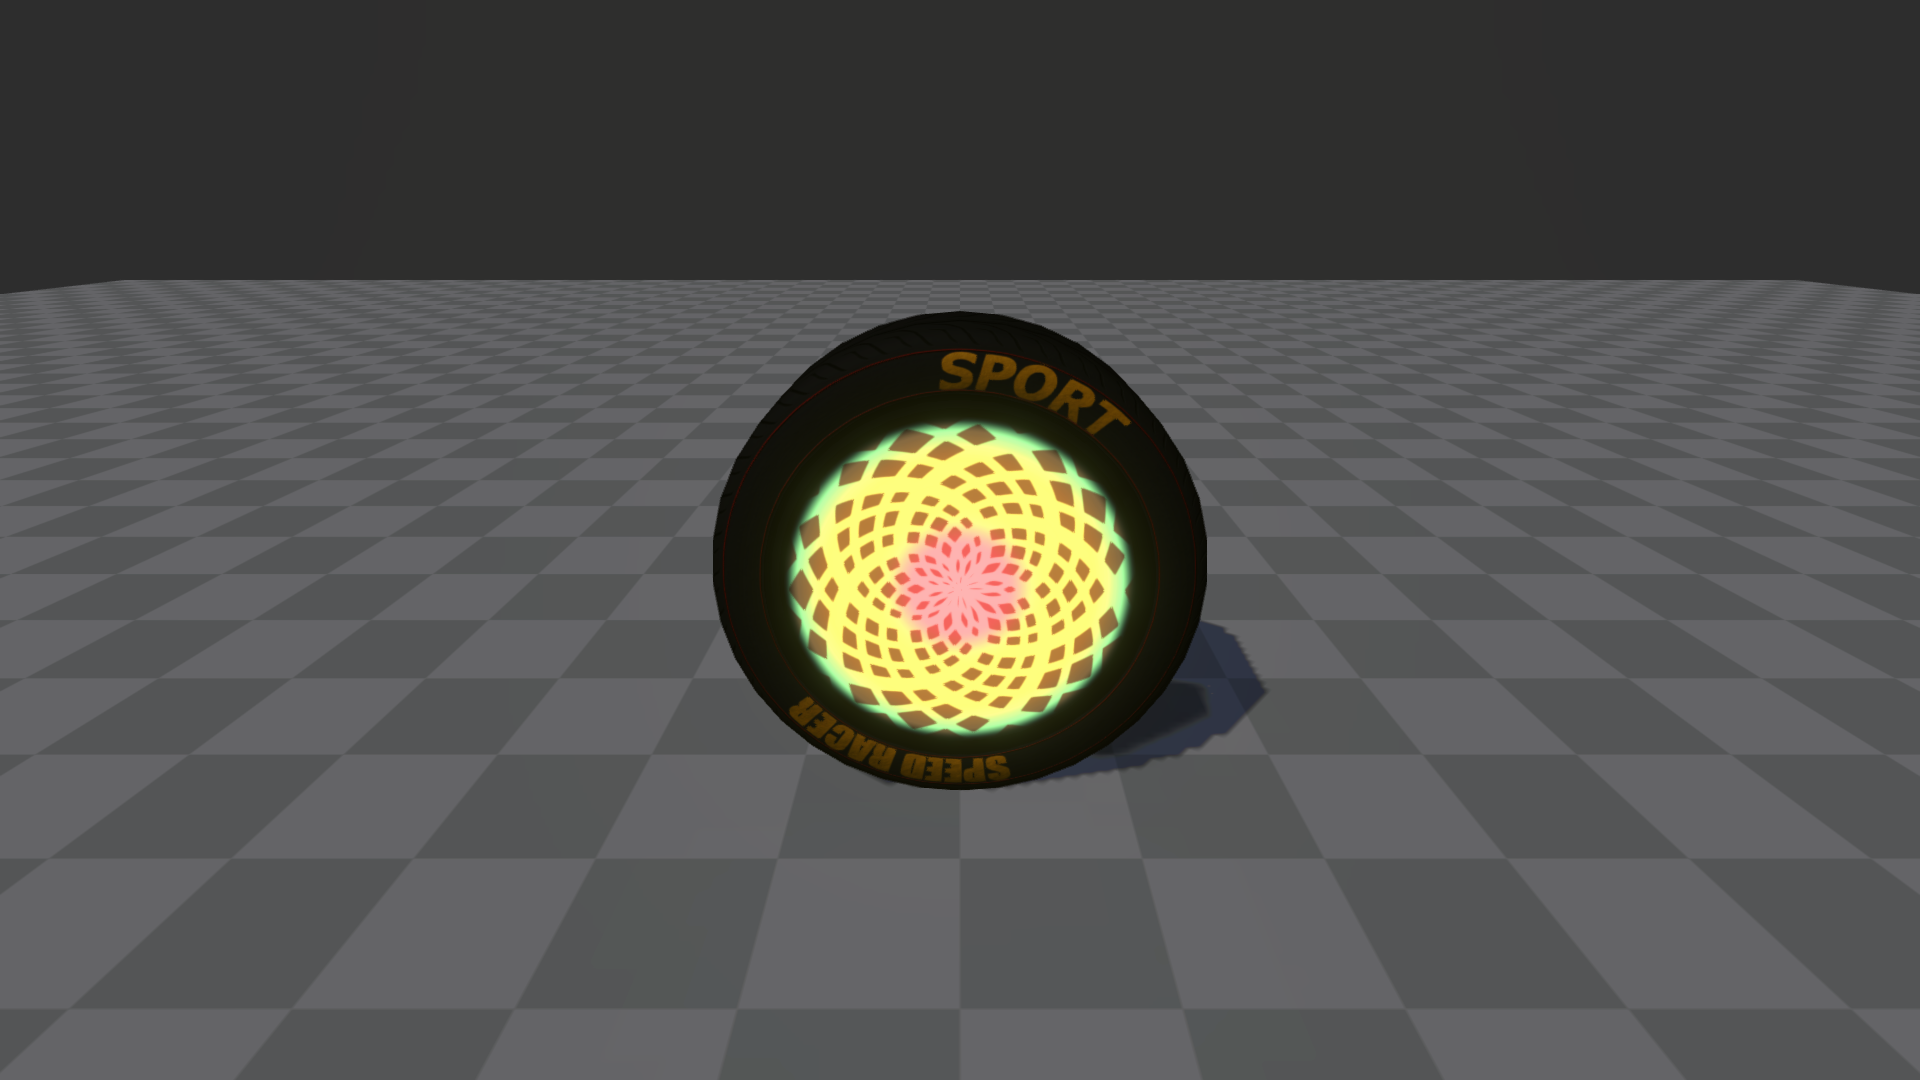
Now let’s break it down.
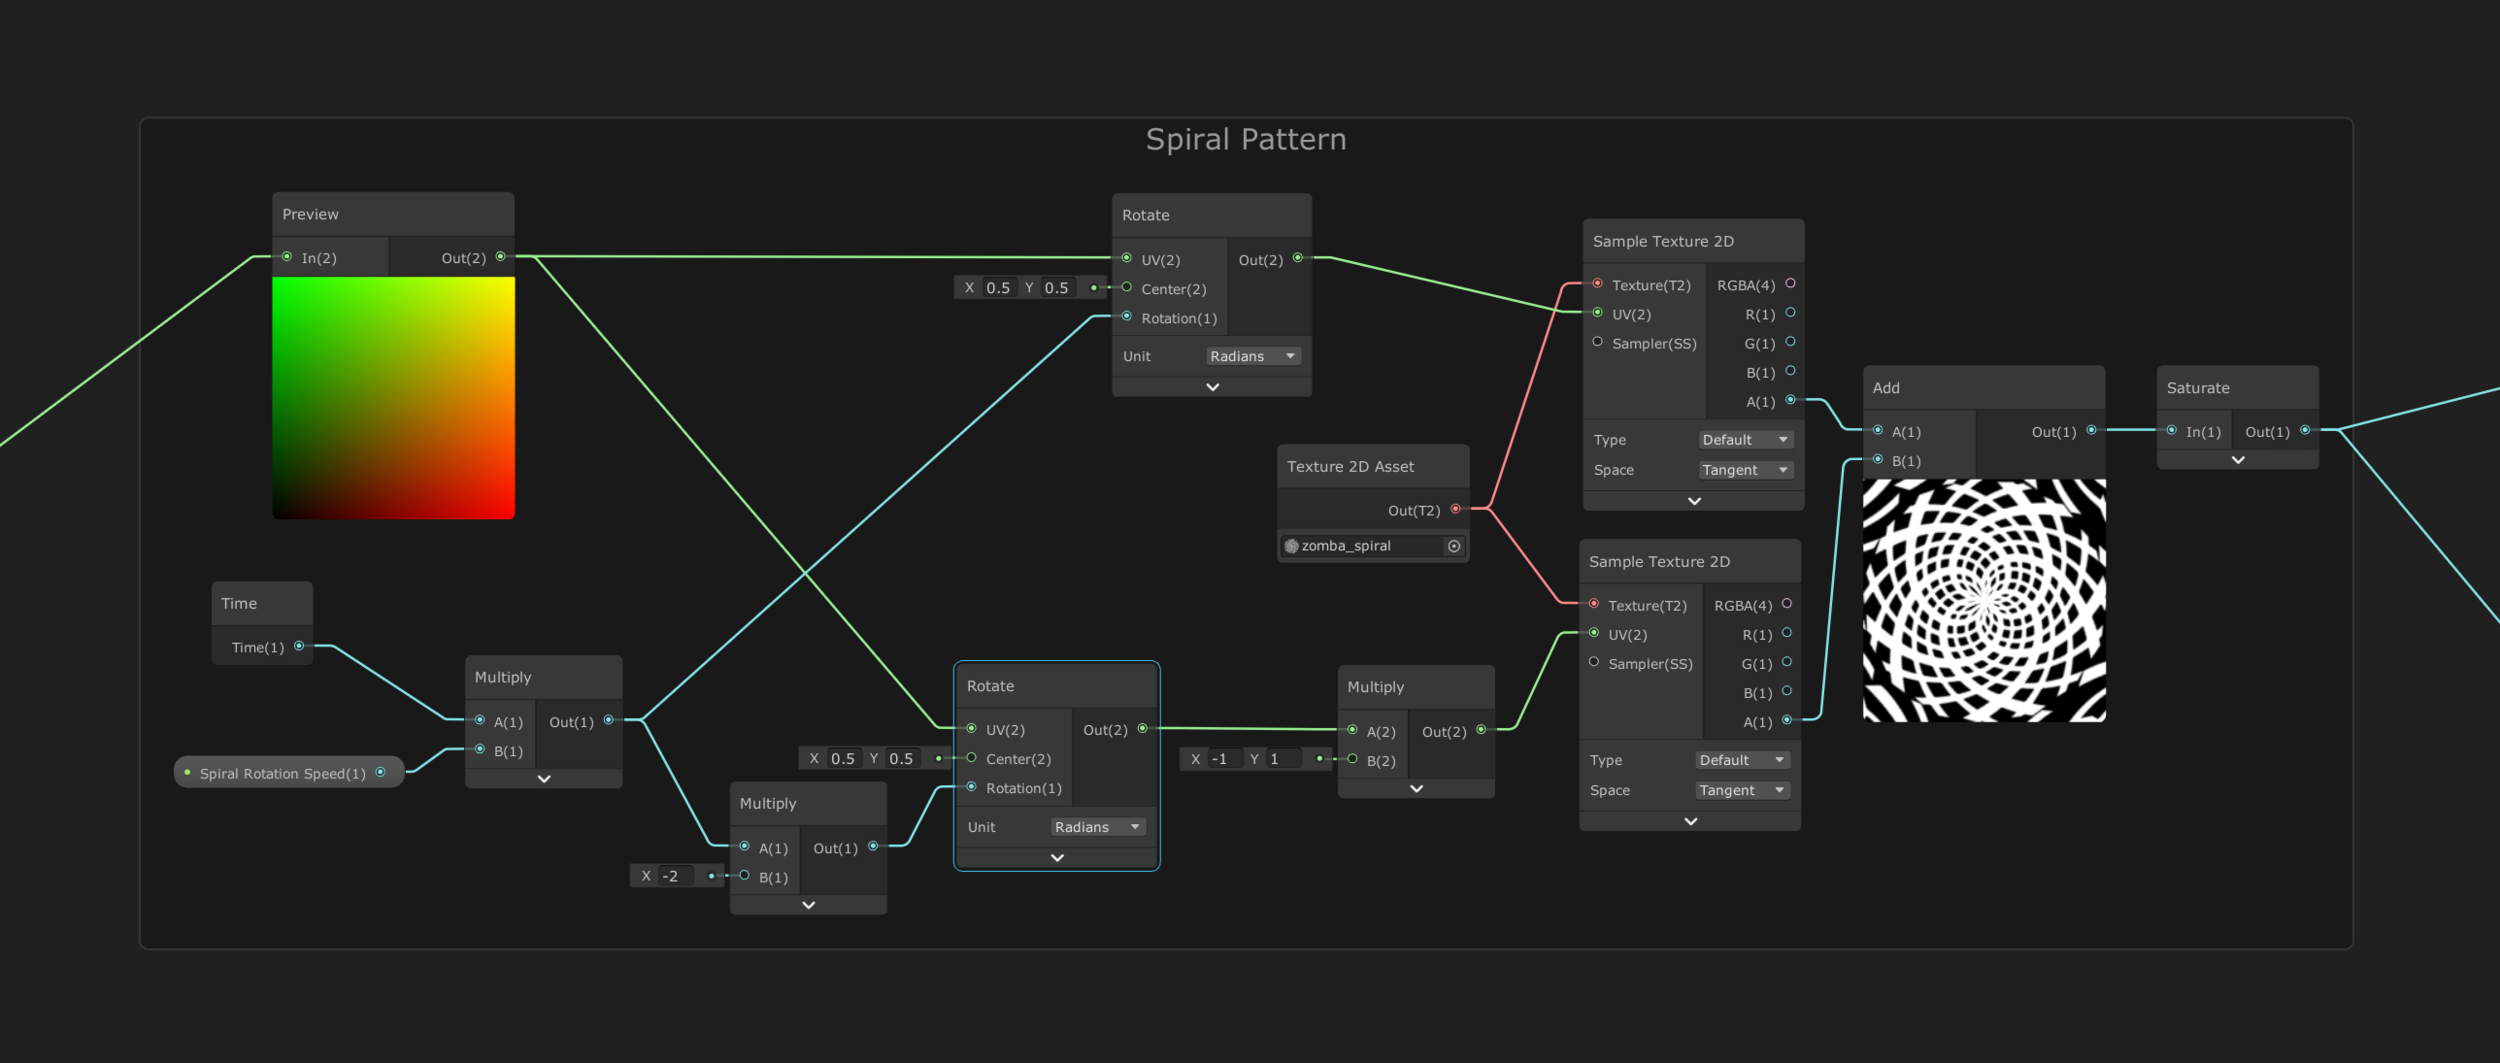
The rosette pattern
The rosette is in fact, only one spiral that’s mirrored on the X axis.
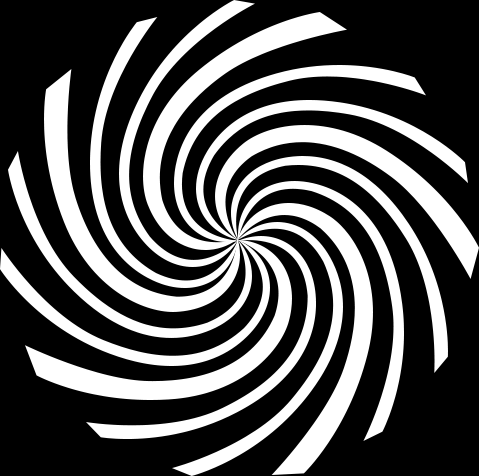
I’m sampling the zomba_spiral image twice, with different rotations, and for the bottom one, a mirror in X. That’s what’s giving this animated rosette pattern. Note that the corners are a bit weird, but it doesn’t matter because they’re going to be faded out anyway.
The pulse
To create a pulse, I first plug the UVs into a Distance node, to get a radius. I then plug that into another Distance node. The second parameter of the second Distance node, is an animated value between -0.2 and 0.7. That results in a pulse.
The Smoothstep node allows me to control the size and sharpness of the pulse.

The colours
The main colour
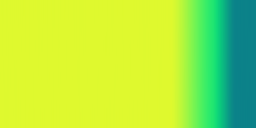
The main colour is a look-up texture aka. LUT, that I sample on the X axis based on the the rosette pattern.

I do that instead of using a simple colour property because my dark-to-bright gradient is not a simple multiplication or addition. I wanted more control over the left-to-right gradient. Alternatively, I could have used the Gradient node.

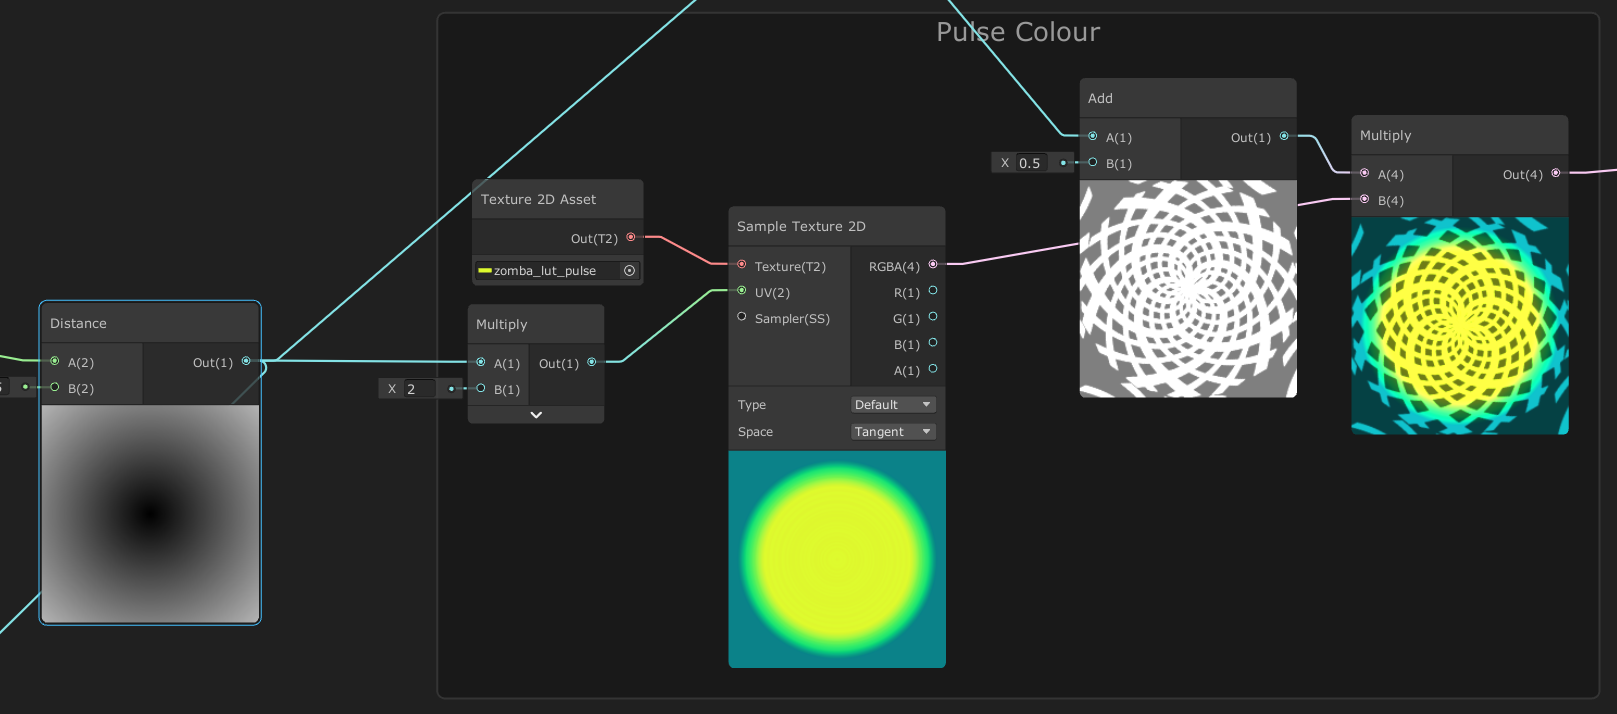
The pulse colour
The pulse colour is also a LUT, but this time, sampled based on the distance from the centre of the UVs.
By multiplying it with the rosette pattern, I obtain a rosette as if it was fully in a pulse. I add an arbitrary 0.5 to the rosette before the multiplication. This is only to avoid complete black between the branches of the rosette.
And it all comes together in a lerp node, that blends between the pulse colour and the main colour, based on how much of the pulse is currently visible.

The 3D model
Polygons can be expensive. So it would be tempting to go for a quad as the base mesh, and then fade away the corners. But transparency can also be expensive. So I usually go for the in-between.
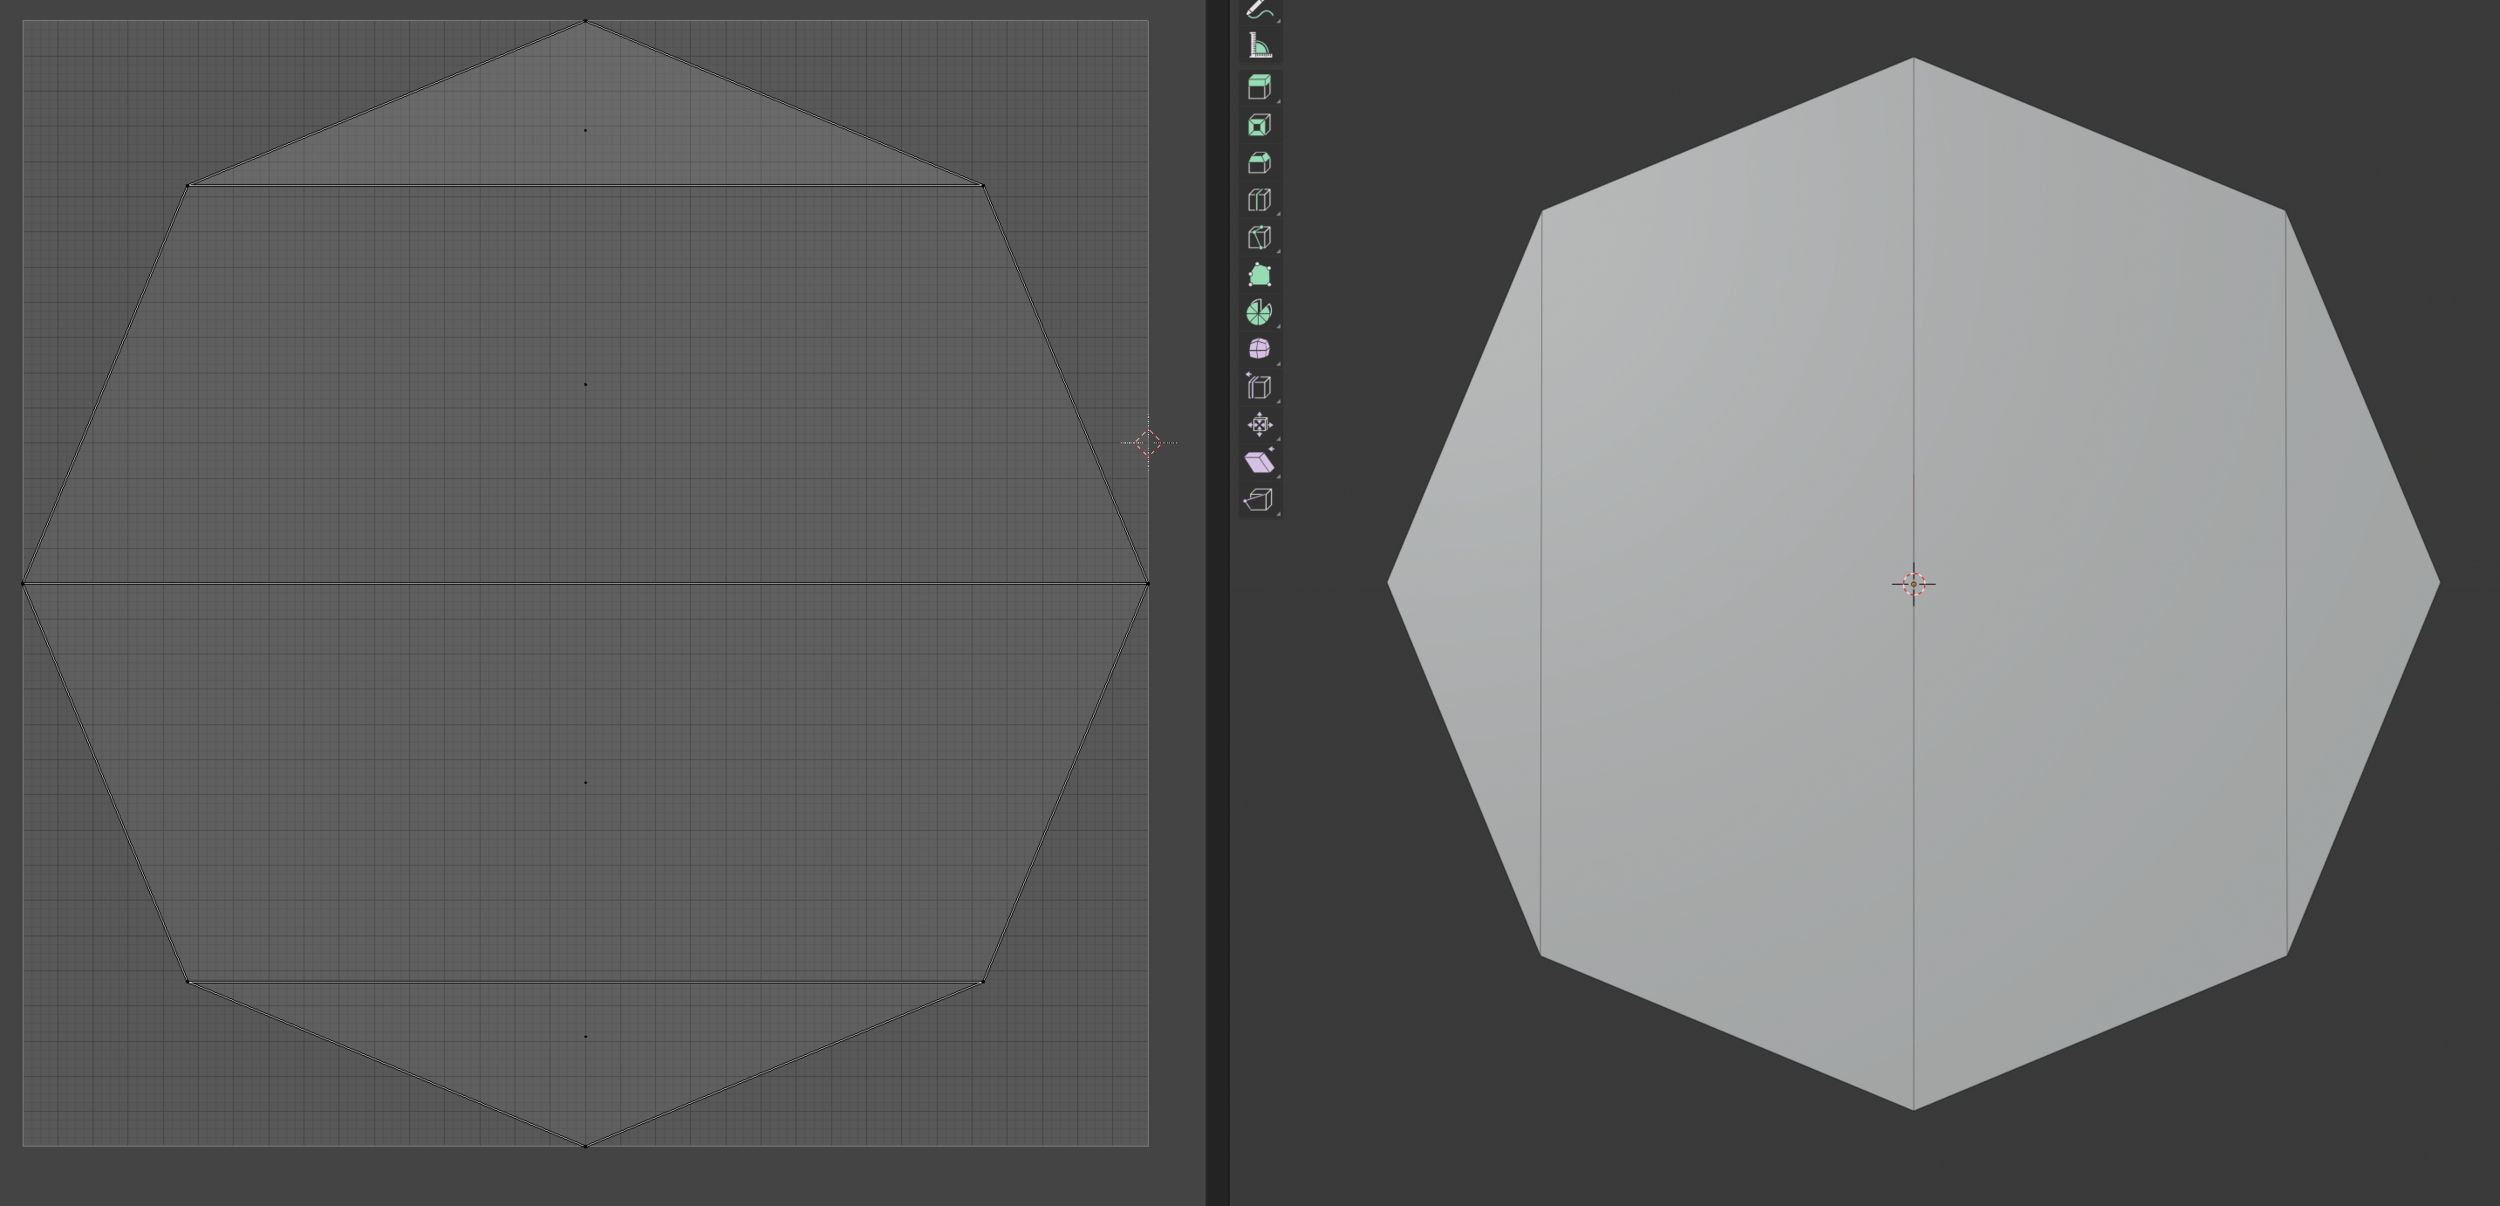
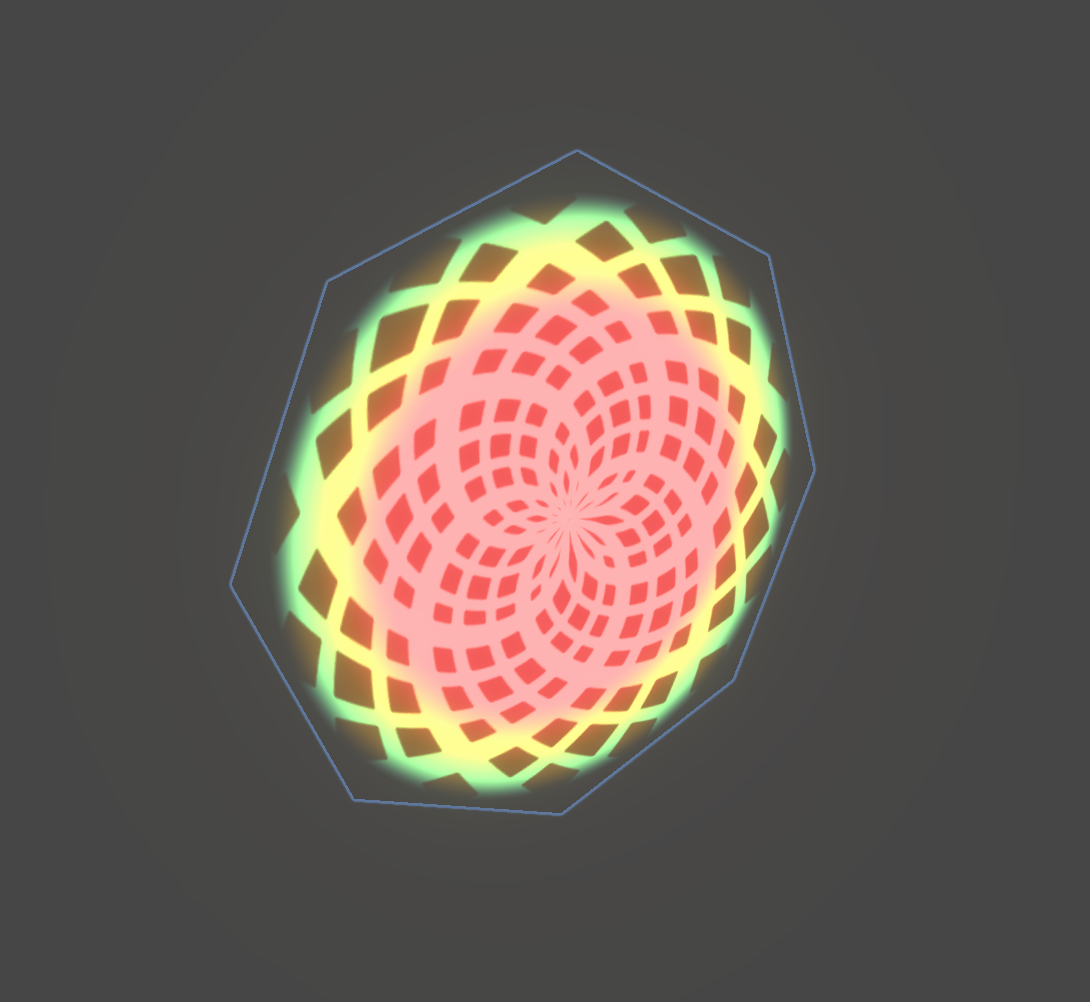
I made an octagon in Blender, to minimise the transparency while keeping the poly count very low.
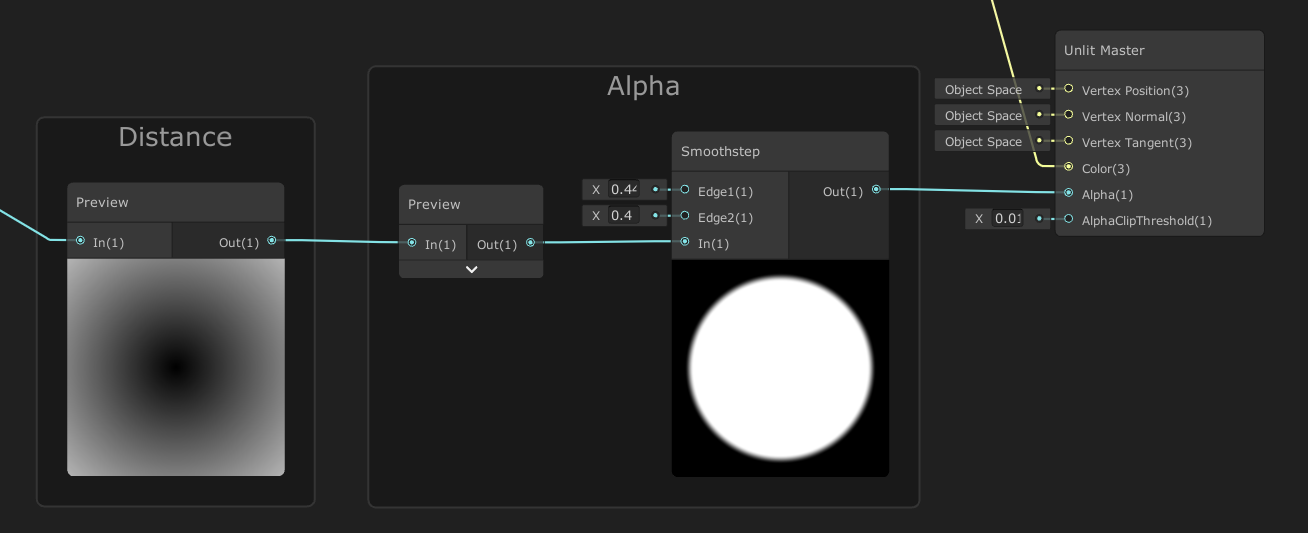
And to fade out the corners, I use the distance from centre of the UVs, I give it a slight gradient in the Smoothstep node, and most importantly, configure a small AlphaClipThreshold on the Master node. This discards any pixels that has an alpha below that value.
There you have it!
The code
The tire was downloaded for free on the Asset Store, here. Credit to Perfect Games.
You can checkout the repo here.