Dynamic Inventory Thumbnails in Unity
In many games, even if they have thousands of different items to collect, they usually generate a sprite for each item through some automated scripts before shipping the game. While that is fine for most games, it can’t work for some other. All Borderlands games have billions of different guns procedurally generated at runtime. Storing so many sprites on disk being impossible, the thumbnails have to be generated at runtime, as the player opens the inventory and then cached for performance.
Of course Borderlands is made in Unreal Engine, but I want to try to do it in Unity. The key features of my approach are layers and render textures.
In order to generate some guns procedurally, in this post, I’m going to be using this wonderful asset from the Unity Asset Store.
Configuring the Layers
In order to take a good snapshot of a gun, we need to place it in a scene. This doesn’t mean the player will see it.
So, when I create a new gun and want to take a screenshot of it, I begin by duplicating all the renderers from the original. This means that if my gun has some custom scripts for handling shooting, for instance, I will not have them in my duplicate. We just want the visuals of the gun.
I ensure that the root and all the children game objects are on my custom layer.
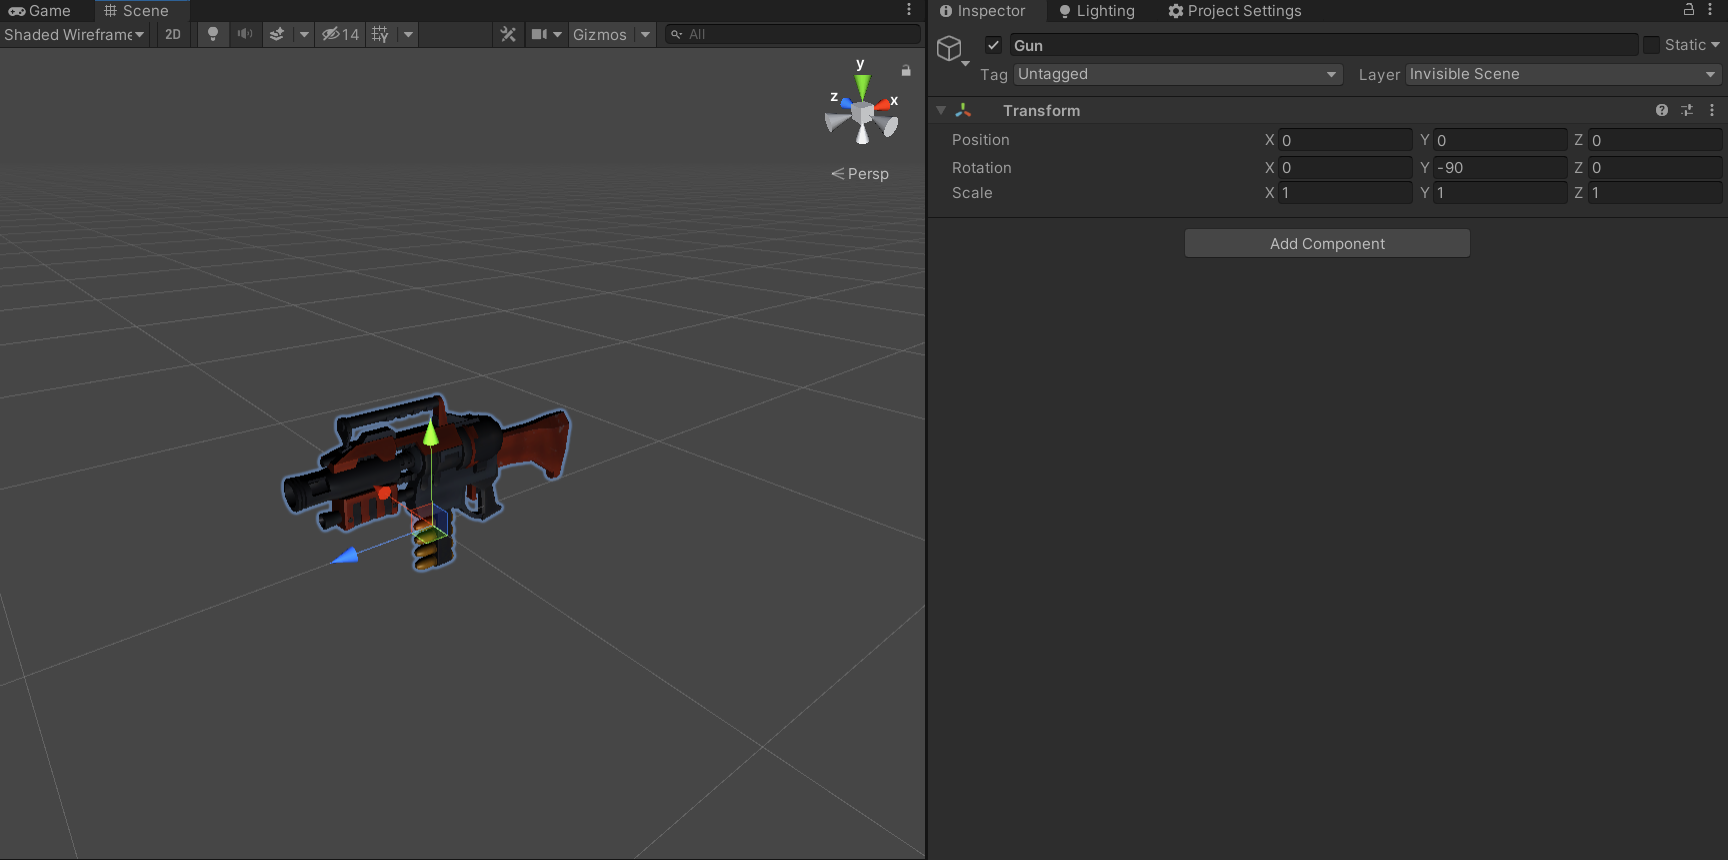
Then, I create a new orthographic camera, which will be used to render my gun. I ensure the Culling Mask is set to the layer on which my guns are. I also set the Background to be transparent. This will allow me to place the thumbnail on a custom background later.
By disabling the camera, I can manually trigger when I want to render it via script.
.jpg)
On awake, I will set the target render texture of that camera, to a custom one.
rt = new RenderTexture(thumbnailSize.x, thumbnailSize.y, 24, RenderTextureFormat.ARGB32, 1);
thumbnailCamera.targetTexture = rt;
Framing
In order to produce some good quality thumbnails, it’s ideal to frame the item perfectly, so that it’s neither too small or too big in the picture.
Luckily, the Renderer component has a bounds property. So, I iterate through all the renderers that composes the item, grow a variable of type Bounds that will encapsulate all of them. Here is how I do that:
public static Bounds CalculateCompoundBounds(GameObject root)
{
    Bounds bounds = new Bounds(root.transform.position, Vector3.zero);

    Renderer[] renderers = root.GetComponentsInChildren<Renderer>();
    foreach (Renderer renderer in renderers)
        bounds.Encapsulate(renderer.bounds);

    return bounds;
}
This gives me a centre, and an extent, which I can then use to position, and size my camera.
public Texture2D CaptureThumbnail(Bounds bounds)
{
    // Position the camera
    thumbnailCamera.orthographicSize = Mathf.Max(bounds.extents.x * thumbnailInvertRatio, bounds.extents.y) + thumbnailPadding;
    thumbnailCamera.transform.position = new Vector3(bounds.center.x, bounds.center.y, thumbnailCamera.transform.position.z);

    // Render the thumbnail
    thumbnailCamera.Render();

    // Save the thumbnail to a Texture2D
    RenderTexture rtCache = RenderTexture.active;
    RenderTexture.active = rt;
    Texture2D thumbnail = new Texture2D(rt.width, rt.height, TextureFormat.ARGB32, false);
    thumbnail.ReadPixels(new Rect(0, 0, rt.width, rt.height), 0, 0);
    thumbnail.Apply();
    RenderTexture.active = rtCache;

    return thumbnail;
}
The camera now adjusts to best fit the item in frame!
Displaying the Thumbnails
Now let’s display the thumbnails! I’m going to use the RawImage component to do so.
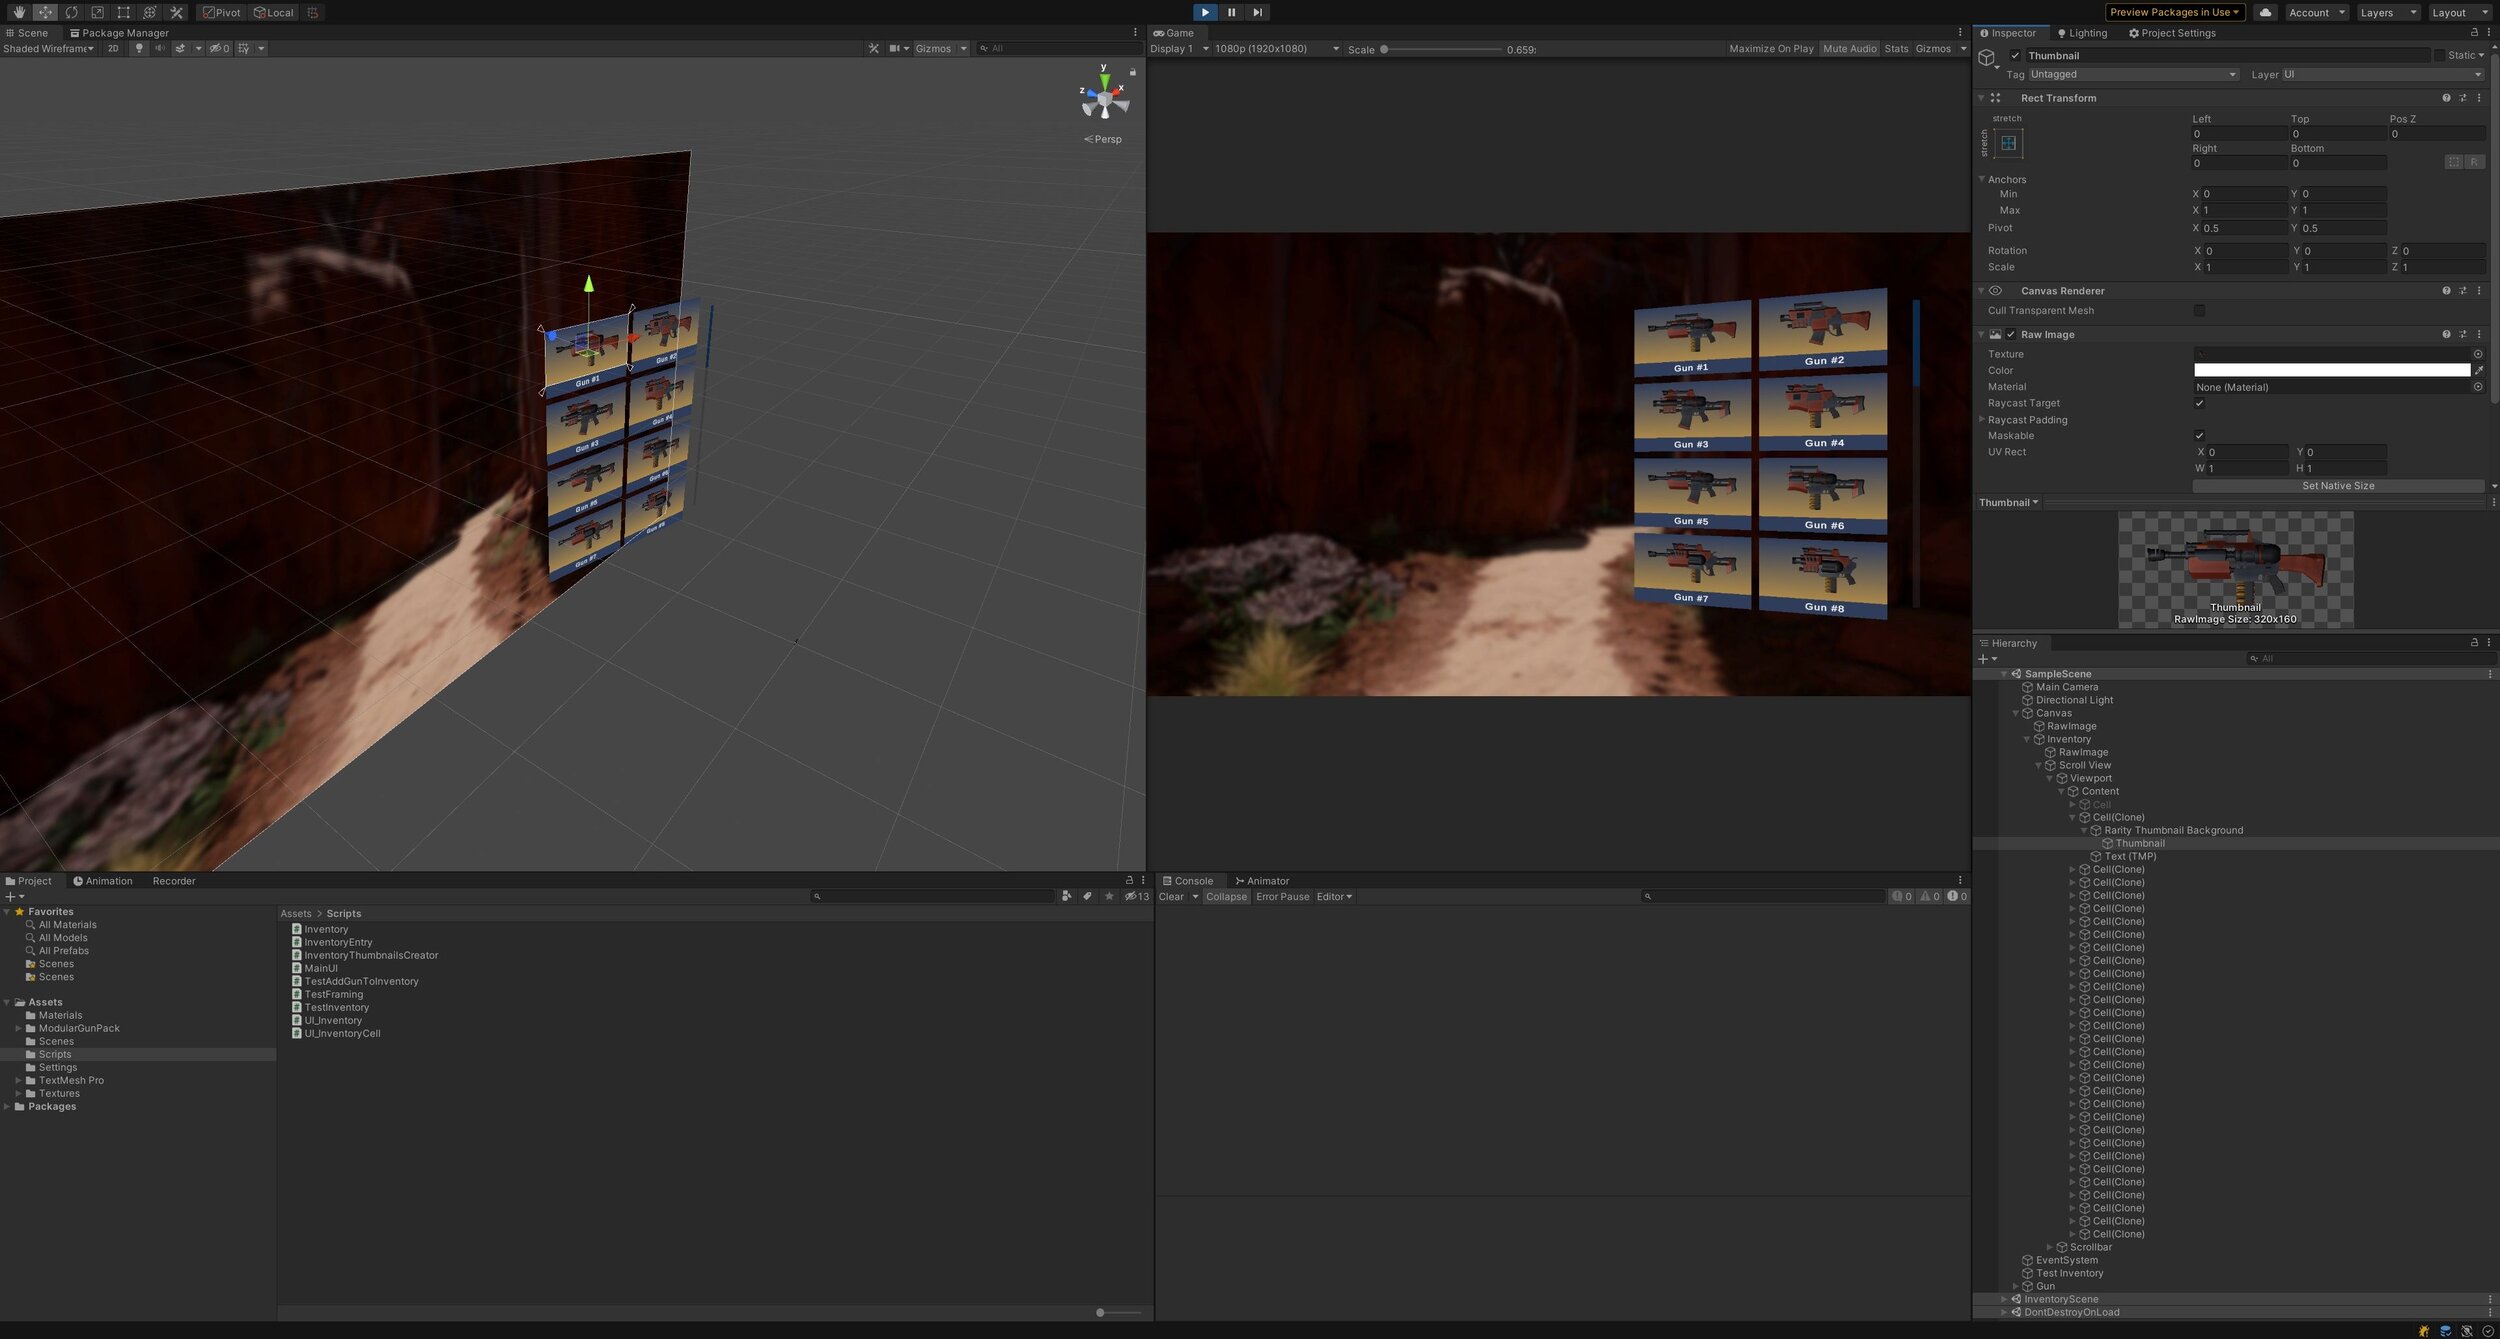
And just like that, we have dynamic thumbnails!